Replacing your asphalt shingle roof can be a big project, but proper preparation can make the process smoother and less stressful. An asphalt shingle roof replacement not only enhances the look of your home but also improves its safety and energy efficiency. Knowing what to expect and taking the necessary steps to prepare your home can save you time, money, and inconvenience.
Preparation starts with understanding the entire roof replacement process. This knowledge helps you anticipate what needs to be done both inside and outside your home. Think of it as getting your house ready for a significant makeover. By securing your interior, safeguarding your exterior, and coordinating with your roofing contractor, you set the stage for a successful and efficient roof replacement.
Taking these preparatory actions ensures that the job is done right while minimizing disruptions to your day-to-day life. Let’s walk through the essential steps for preparing your home for an asphalt shingle roof replacement. Each tip will help you get ready for a smooth and efficient roofing project, ultimately leading to a safer and more beautiful home.
Understanding the Roof Replacement Process
Before diving into the preparations, it’s crucial to understand the roof replacement process. Knowing what to expect can help you plan better and reduce surprises along the way. The process typically begins with a thorough inspection of your current roof. Your roofing contractor will assess the condition of your shingles, underlayment, and decking to determine the scope of work required.
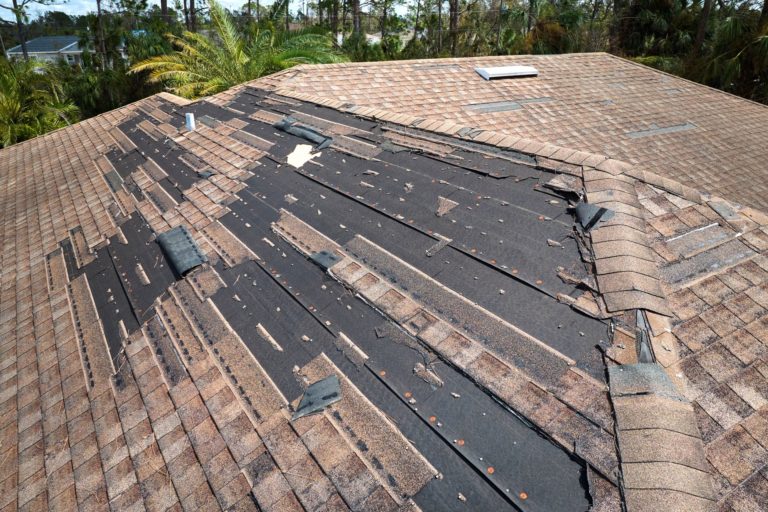
Once the assessment is complete, the old shingles will be removed. This phase can be noisy and messy as workers strip away the existing roof materials. After the removal, the roof deck is inspected for any damage or rot. Any necessary repairs or replacements are made to ensure a solid foundation for the new roof. Following the deck preparation, the underlayment is installed. This layer acts as an additional barrier against water infiltration. Finally, the shingles are installed, starting from the bottom edge and working upward to ensure proper alignment and coverage.
The entire process can take a few days to a week, depending on the size and complexity of your roof. Understanding each step will help you prepare adequately and manage your expectations throughout the project. With this knowledge in hand, you can move on to preparing the interior of your home for the upcoming work.
Preparing the Interior of Your Home
While the roof replacement primarily occurs outside, it can have a significant impact on the inside of your home. Start by clearing the attic. Remove valuables and cover anything you can’t move with drop cloths or tarps to protect them from dust and debris. Vibrations from the roof work can cause items to shift around, so securing loose items is essential.
Next, take down any wall decorations, such as pictures, mirrors, or shelves. The vibrations caused by the roofing work can cause these items to fall and break. Store them safely until the project is complete. It’s also a good idea to cover furniture and other items in rooms directly below the roof to protect them from any falling dust or debris that may filter through during the process.
Consider the safety and comfort of your household as well. If you have young children or pets, plan for them to stay in a quieter area of the house or with a relative or friend during the noisiest parts of the project. This keeps them safe and minimizes stress for everyone involved. By taking these steps, the interior of your home will be well-prepared, making the entire roof replacement process more manageable for you and your family.
Securing the Exterior and Surroundings
Preparing the exterior of your home is just as important as getting the interior ready. Start by moving any vehicles away from your driveway and garage to allow easy access for the roofing crew and their equipment. A clear driveway prevents accidental damage to your car and provides ample space for workers to carry out their tasks efficiently.
Next, take a look around your yard. Remove or secure outdoor furniture, grills, potted plants, and any decorative items. These objects can get damaged by falling debris or could obstruct the roofing crew. Cover flower beds and other delicate plants with tarps or plywood to shield them from dust and debris during the roof replacement.
Pay attention to your gutters and downspouts as well. Ensure they are clear of leaves and debris, as the roofing process can generate additional debris that might clog them. A clean gutter system can handle the run-off from any rain during the project, reducing the risk of water damage. By securing and protecting the exterior of your home, you help ensure the roofing process goes smoothly and your property remains safe and intact.
Communicating with Your Roofing Contractor
Effective communication with your roofing contractor is key to a successful roof replacement. Start by discussing the timeline of the project. Knowing the exact start and end dates helps you plan your activities and minimizes disruptions to your daily life. Ask about the specific hours the crew will be working so you can accommodate their schedule.
Set clear boundaries and expectations regarding access to your property. Ensure the crew knows which areas are off-limits and where they can store their tools and materials. Discuss any concerns you might have about safety, particularly if you have children or pets at home. Addressing these issues upfront can prevent misunderstandings and ensure everyone stays safe.
Finally, keep an open line of communication throughout the project. Regular updates from your contractor can help you stay informed about the progress and any unexpected challenges that may arise. If you notice any issues or have questions, don’t hesitate to bring them up immediately. Open and honest communication with your contractor ensures a smooth and satisfactory roof replacement experience.
Conclusion
Preparing your home for an asphalt shingle roof replacement involves several crucial steps, from understanding the roof replacement process to securing both the interior and exterior of your home. Effective communication with your roofing contractor also plays a vital role in ensuring a seamless experience. Each preparation step helps safeguard your home, making the entire project more manageable and less stressful.
If you’re ready to proceed with your shingle roof replacement, Lighthouse Exteriors is here to help. Our experienced team can guide you through every step, ensuring your home is prepared, and the project is executed flawlessly. Contact Lighthouse Exteriors today to get started on enhancing the safety and beauty of your home with a new asphalt shingle roof.


